How to Add Custom Fields in Headless WordPress with ACF & WPGraphQL
WordPress is King CMS for a reason. It provides a great editing experience and is well known for those who consider themselves technical or not. But with a default installation, the content you can manage is a bit limited. How can we extend that with custom fields via ACF and use that data when querying WPGraphQL in our apps?
What are custom fields in WordPress?
WordPress at its core is a content management system (CMS), and part of the role of a CMS is to have the ability to store data related to the content you’re creating.
When adding that data such as a title of a post or your featured image, you use fields to input and store that data.
Custom fields extends this idea, where not only can we use the fields the WordPress provides out of the box, we can provide more fields on top that makes sense in the context of our application.
What is ACF?
ACF (Advanced Custom Fields) is a very popular plugin for WordPress that gives us that ability to extend the default input fields available.
After installing the ACF plugin, you have the ability to create new fields with a wide variety of input types. You can then select a set of rules to determine what type of content you’d like to apply those fields to, whether a very specific type of Post or if you use custom post types.
The tricky thing is how can we access that custom field data when coupling it with a headless approach like WPGraphQL, which isn’t necessarily a solution supported by WordPress itself?
How can we use ACF with WPGraphQL?
Luckily the team that makes WPGraphQL has been hard at work supporting not only WPGraphQL, but a variety of plugins that help extend its GraphQL querying abilities beyond WordPress core and to popular plugins available in the WordPress ecosystem.

Particularly, WPGraphQL supports a plugin for Advanced Custom Fields.
By installing this plugin, we can take full advantage of any of the custom fields we create for our content, pulling it in right along side any other WordPress data.
What are we going to build?
To get started, we’re going to use a very basic Next.js Starter that I created for bootstrapping a new project with basic WPGraphQL configurations.
Note: you’ll need to already have a WordPress instance with WPGraphQL available and ready to work with whether locally running or publicly available. You’ll also need to be able to install plugins or have someone else install them for you.
What this will allow us to do is skip over the basic installation process and move right into getting started with managing custom fields with WPGraphQL in WordPress.
Once we have our basic project set up, we’ll walk through all of our plugins, how we can use those plugins to set up custom fields and use that data in our app.
Step 0: Starting a new Next.js project with Next.js WPGraphQL Basic Starter
We’ll get our project started by spinning up a new Next.js project with my Next.js WPGraphQL Basic Starter.
If you already have a Next.js project with WPGraphQL, you could alternatively use that to walk through the tutorial.
Reminder: make sure your WordPress instance is available to query with WPGraphQL installed!
In your terminal, run:
yarn create next-app -e https://github.com/colbyfayock/next-wpgraphql-basic-starter my-wp-acf-app
# or
npx create-next-app -e https://github.com/colbyfayock/next-wpgraphql-basic-starter my-wp-acf-app
This will go through and clone the starter project and install all of the dependencies.
Note: feel free to change
my-wp-acf-appto the directory and project name of your choice!
Once everything is installed, navigate to that new directory:
cd my-wp-acf-appAnd before we try to start off the project, create a new file in the root of the project called .env.local with the following:
WORDPRESS_GRAPHQL_ENDPOINT="https://yourhost.com/graphql"You’ll want to replace http://yourhost.com/graphql with your WordPress instance’s GraphQL endpoint. After installing WPGraphQL, the endpoint is available at /graphql by default.
Now, you can start up the new project by running:
yarn dev
# or
npm run dev
Which will start up a local development server at http://localhost:3000 where you can now access your new Next.js WordPress project!

If you head over to the GraphiQL IDE provided by the WPGraphQL plugin, you can also see we can now query our data.

And we’re ready to get started with our custom fields!
Follow along with the first commit!
Step 1: Installing and configuring ACF to use with WordPress and WPGraphQL
To get started with ACF, the first thing we need to do is install the plugins for our WordPress instance.
First up is ACF itself.
Head over to Plugins, click Add New, and search for “advanced custom fields”.
While there will be a bunch of results that come up, be sure to select the one that exactly says “Advanced Custom Fields”.

Click Install and once it’s complete, click Activate.
This will give you the basic installation of ACF, where it will allow you to manage your custom fields, which we’ll learn how to do in the next step.
Before we do that though, we need to set up our fields to be queryable, and to do that, we’ll install a second plugin to make it compatible with WPGraphQL.
For this one, we’ll need to install the plugin manually, which includes one extra step.
First, head over to the WPGraphQL ACF GitHub repo.
https://github.com/wp-graphql/wp-graphql-acf
We’ll need to download the project into a ZIP folder, which we’ll upload to WordPress.
If you already know how to do this, you should download it from the main branch which at the time of writing this is master.
If you scroll down to the top of the README of the project, you’ll see a link for Installing from GitHub which you can click.
Under that section, you should see another link download the latest release zip file which when clicked, will download the ZIP for you.
Alternatively you can click this link:
https://github.com/wp-graphql/wp-graphql-acf/archive/master.zip
Next we want to upload it to WordPress.
Head back over to WordPress and this time after you click Plugins and Add New, you want to click Upload Plugin at the top.

It will open a file selector which you will then find that ZIP you just dowloaded and then click Install.
If successful, you should now see an Activate Plugin button which you can go ahead and click.
And now, if we head back over to Plugins, we should see our three plugins for setting up our custom fields!

Step 2: Creating new custom fields for WordPress posts
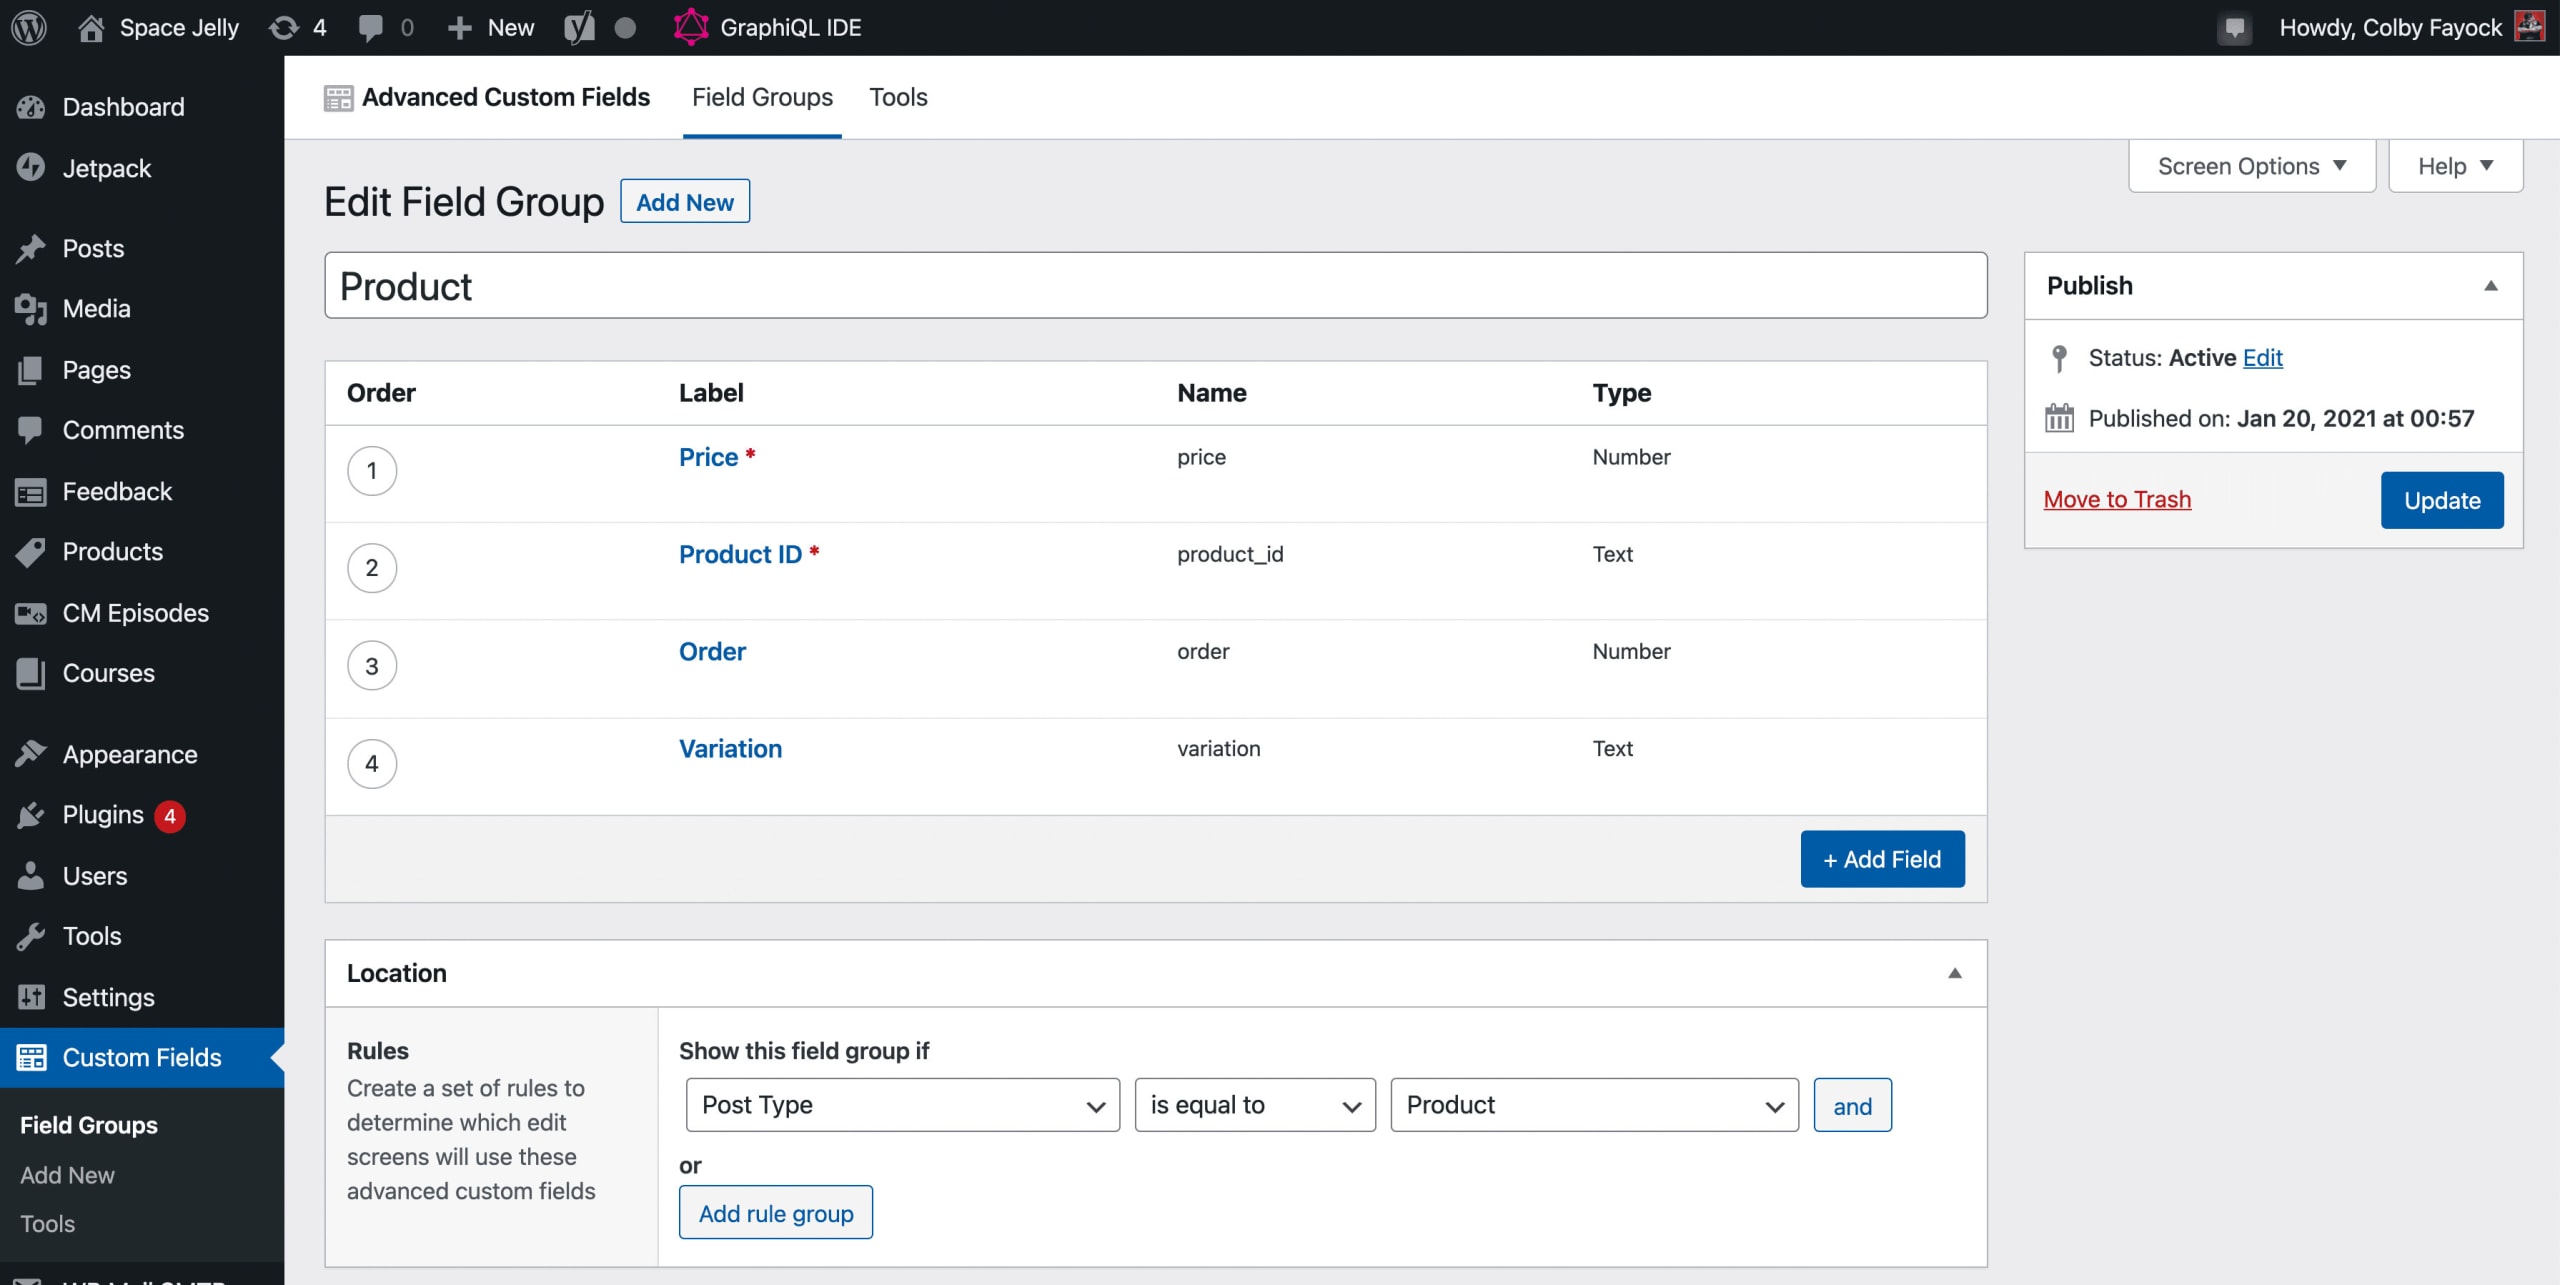
Now that we have ACF installed and ready to use, let’s try to create a new custom field and make sure we’re able to query it on our post data.
Still inside of the WordPress dashboard, head over to the Custom Fields section in the left navigation.
Here, you’ll see a page called Field Groups, which is where we’ll create our custom fields. Click Add New at the top.

Next, we can name our field group. For our example, I’m going to add a YouTube video that should be available on each post, so I’m going to name it “Video”.
Tip: The conventions that you use for naming your custom fields and properties is up to you, but try to remain consistent. If you have data specific for Products, maybe you name it “Product”, if it’s video metadata that could work on multiple post types like here, maybe name it “Video”.
Then we can add the fields for our video by clicking Add Field.

ACF will open up a dialogue with a bunch of fields for you to fill out. Let’s start off with the following:
- Field Label: “Video URL”
- Field Name: as soon as you click outside of Field Label, the Name will autofill. You can leave this as is or change it as you’d like
- Field Type: “oEmbed” – using the dropdown, you can see there are a lot of field options, we’ll go with oEmbed since we ultimately want to embed a video
- Show in GraphQL: “Yes” – this should be selected by default, but if it’s not, be sure to toggle it on

The rest of the field properties you don’t have to worry about for now unless you’d like to further customize your field.
If you’d like to add any other fields, feel free to do so by clicking the Add Field button again. I’m going to add an additional field for Video Source where I can put where the video came from (like YouTube or Vimeo).
Now we want to make sure that we apply our custom field group to the right post “type”.
Scroll down to the Location box and you’ll see that we have a set of rules. These rules will let you tell WordPress where exactly you’d like these fields to be applied to.

In our case, we’re adding a video to our blog posts, so the default selection of “If Post Type is equal to Post” is exactly what we want, but if you’re adding this to a custom post type or something advanced, you’d want to set the rules here.
And finally, this parts important, we want to make sure that this field group will show up in your GrpaphQL query.
Scroll to the bottom and toggle the Show in GraphQL option to Yes.

Similar to other options, you can customize how this field appears, but it adds a default, which is a lowercase version of the field group name “video”, which will work fine for our purposes.
Now we can scroll back up to the top and click the Publish button on the top right side of the page!
Next, let’s add some data.
Head over to the Posts section in the WordPress dashboard and select any post, this could even be your Hello World post.
Scroll to the very bottom of your post and at the bottom, you should now see a group of fields called Video along with our URL and Source fields!
Find your favorite video (or use your favorite from my catalog) and add the URL along with the Video Source.

You’ll even see that when you add the URL, because we used oEmbed as our field type, it tries to treat the video as an embeddable piece of content, which helps us later!
Then hit Update on top right of the editor page.
With our new field group, let’s try to query it in our data.
Head back over to the GraphiQL IDE inside of the GraphQL tab.
We’ll want to modify our post query to include our video data. You can either do that by using the Explorer and finding the video property under posts, or you can use the following query:
query MyQuery {
  posts {
    edges {
      node {
        title
        uri
        video {
          videoSource
          videoUrl
        }
      }
    }
  }
}
And if we run that query, we can see our post data along with our video data!

And in the next step we’ll learn how to add that data to our query and add it to our page!
Step 3: Querying custom field data with WPGraphQL
In Step 0, we started off our project by using a Next.js Starter that already has the ability to query WordPress with WPGraphQL.
That Starter includes a basic homepage, but it also includes a dynamic Post page, which will create a new route for every post, along with grabbing the data to appear on the page.
So in this step, we’ll extend the query we already have, use that data to find our video embed details, and add it to our page.
To start open back up the code in your editor and navigate to src/pages/posts/[postSlug].js. If we scroll to the bottom of the page, we’ll see the function getStaticProps which inside includes some basic data about our post including the id, content, title, and slug.
We can easily add our new video data to make that information immediately available to our page just like the query in GraphiQL:
postBy(slug: $slug) {
  id
  content
  title
  slug
  video {
    videoSource
    videoUrl
  }
}
Let’s also add this data as a new prop to make it easier to access in our page. In the return statement for getStaticProps add:
return {
  props: {
    post,
    site,
    video: {
      ...post.video
    }
  }
}
We can even now use that data right inside of our page.
At the top of the Post page component, first add video as a new prop:
export default function Post({ post, site, video }) {Then, add the following below the title:
{video && (
  <figure>
    <figcaption>From { video.videoSource }</figcaption>
  </figure>
)}
We’re first checking if we have a video, and if it does, we’re adding a new figure element with a caption including the source of our video.

But we want to see the video, so next let’s add that.
If you noticed inside of our query, when we look up our video URL, we only see a URL, but when we set up our field, we used oEmbed.
While you might have expected to receive the embeddable URL, what we’re actually going to do is query YouTube’s oEmbed service, which will automatically give all of that information for us.
So back inside of getStaticProps, we can add some logic in order to do this. First add a request to get the oEmbed data:
let oEmbed;

if ( post.video ) {
  if ( post.video.videoSource === 'YouTube') {
    oEmbed = await fetch(`https://www.youtube.com/oembed?url=${post.video.videoUrl}`)
    oEmbed = await oEmbed.json();
  }
}
Then we can add that oEmbed variable to our return statement under the video prop.
video: {
  ...post.video,
  oEmbed
}
If we add a console.log to the top of the Page component, we can even see all of the data we get back with our oEmbed.

As we can see we get the properly html which is exactly what we’ll use to add this video to the page.
Let’s update our code snippet:
{video && (
  <figure>
    <div dangerouslySetInnerHTML={{
      __html: video.oEmbed.html
    }} />
    <figcaption>From { video.videoSource }</figcaption>
  </figure>
)}
Here we’re adding a new div, where we can set the HTML of that div to our oEmbed HTML, which embeds our video as an iFrame.
If we now reload the page, we can see our video!

Though it’s a little small by default from the YouTube response, but we can fix that with a little CSS!
At the bottom of src/styles/global.css add:
figure {
  width: 100%;
  text-align: center;
}

figure iframe {
  aspect-ratio: 200 / 113;
  width: 100%;
  max-width: 400px;
  height: auto;
}
Note: when building your own page, you’d likely want to add a class to your video component and add the styles to a module specific to your page or component.
In our CSS, we’re first making sure our figure can expand as large as it wants, but when on our iFrame, we’re saying we want it to have an aspect-ratio equivalent to the size of our video that resizes with the page, but only gets to a max size of 400px wide.
Note: aspect-ratio is a newer CSS property that has limited browser support. Make sure to do your homework when using it or use the padding trick.

As we can see, our video expands to a bigger size making it easier to see!
Follow along with this commit!
What else can we do?
Add more fields!
Whether you’re adding a video, managing a product, or some complex content strategy, ACF gives a lot of options for different fields we can add and how they’re applied to the UI.
Take some time to explore the options available and use them to your advantage.
Support more types of oEmbed
YouTube isn’t the only service that supports oEmbed. Take advantage of the specification and support other services which will make your CMS more flexible for editors.