How to Create a Headless WordPress Blog with Next.js WordPress Starter
Blogs are a great way to get down your thoughts to help others learn, keep track of progress, or even to help reinforce an idea to help yourself learn. WordPress is a popular blog platform that’s been around for a while and Next.js is a modern popular web framework for building React apps. How can we use them together to build a fast and reliable blog?
What is Next.js?
Next.js is javascript based web application framework powered by React. It’s goal is to create a universal framework that let’s developers have control of their application’s lifecycle from server to the client, all in one place.

And it does a great job of this. It has a variety of options, from serverside rendering (where supported) as well as static generation, which allows you to export your project as a static app.
For our use case, we want to be able to take our content from WordPress, which traditionally builds it’s own front end, and use it inside of our Next.js app, but how does that work?
How will we use WordPress with Next.js?
WordPress supports a “headless” API out of the box, where we can use a REST API to fetch our content from WordPress itself.
What this means, is we can use WordPress like we usually do, but we’ll use it only as an API for our content, where Next.js will pull that data in to build our site.
On top of that, WPGraphQL is a plugin that sits on top of WordPress, giving the ability to query all of the WordPress content using GraphQL, opening up the door for more powerful and performant ways to manage relationships across our content data.
What are we going to build?
For our project, we’re going to create a new blog from scratch using an existing instance of WordPress and Next.js.

We won’t cover spinning up the WordPress instance itself in this tutorial, so coming into this, you should already have a new WordPress site, ideally with a few blog posts and pages.
To build our blog website, we’re going to use Next.js WordPress Starter, which is a powerful way to bootstrap our new project with little effort.
Finally, we’ll learn how to build our website project and deploy to the popular hosting platform Netlify!
What is Next.js WordPress Starter?
Next.js WordPress Starter is a Next.js starter template that comes packed with a lot of the features you would already expect from a typical WordPress theme including full blog support, SEO, and clientside search.
The goal of the project is to build a typical WordPress blog, but with the power of modern tools like Next.js, where we can create a statically generated web app that can be deployed anywhere.
So with that in mind, we can create a new Next.js project with a single command and a few configurations, and immediately be up and running with our new Next.js WordPress site!
Step 0: Getting WordPress ready as a headless CMS
While we’re not going to walk through creating a new WordPress site, we’ll want to make sure that we’re ready to go for the rest of the tutorial.
The content that comes with a default installation of WordPress is probably sufficient, but it’s always helpful to have a better picture of pulling in your content by adding some test posts or test pages to get started.
Note: you can use FakerPress to add some Lorem Ipsum as an easy way to test this out!
But either way, all you really need to get started is a working version of WordPress!

Step 1: Installing WPGraphQL to query WordPress with GraphQL
To start, we’ll need to install the WPGraphQL plugin, which will allow us to query our WordPress data with GraphQL.
You can easily install WPGraphQL by heading to the Plugins section of your WordPress admin dashboard, searching for WPGraphQL, installing the plugin, and activating it.

Once it’s configured, if you’re already familiar with GraphQL, you can now start to see how you can query your data inside of the GraphQL IDE tab in the admin dashboard navigation!

But once you’re ready, you should be able to visit the /graphql page in your browser for your WordPress site, where you should see a GraphQL-related error, meaning we’re ready to use GraphQL.

Step 2: Creating a new Next.js WordPress blog with Next.js WordPress Starter
If you’ve created a new Next.js website before, such as using Create Next App, this part should be pretty familiar to you!
To create our new website, head to your terminal, and run the following command:
yarn create next-app -e https://github.com/colbyfayock/next-wordpress-starter my-blog
# or
npx create-next-app -e https://github.com/colbyfayock/next-wordpress-starter my-blog
Running this command will use the Next.js Create Next App command line tool to grab a copy of the Next.js WordPress Starter template, clone it to a local directory, and install all of the dependencies, so that we can get quickly moving with our project.
Note: Feel free to replace
my-blogin the command with whatever you want the name of your project to be!
Now, before we actually start our new project, we have to do one more thing.
Inside of your new project, we need to create a new file called .env.local, where we’ll store our WordPress API endpoint to let our code know where to pull the content from.
After creating .env.local inside of your project, add the following:
WORDPRESS_GRAPHQL_ENDPOINT="[Your WordPress Host]/graphql"Note: make sure to change
Your WordPress Hostfor the domain of your WordPress site. Also, if you changed your WPGraphQL endpoint, you’ll need to update that instead of/graphql.
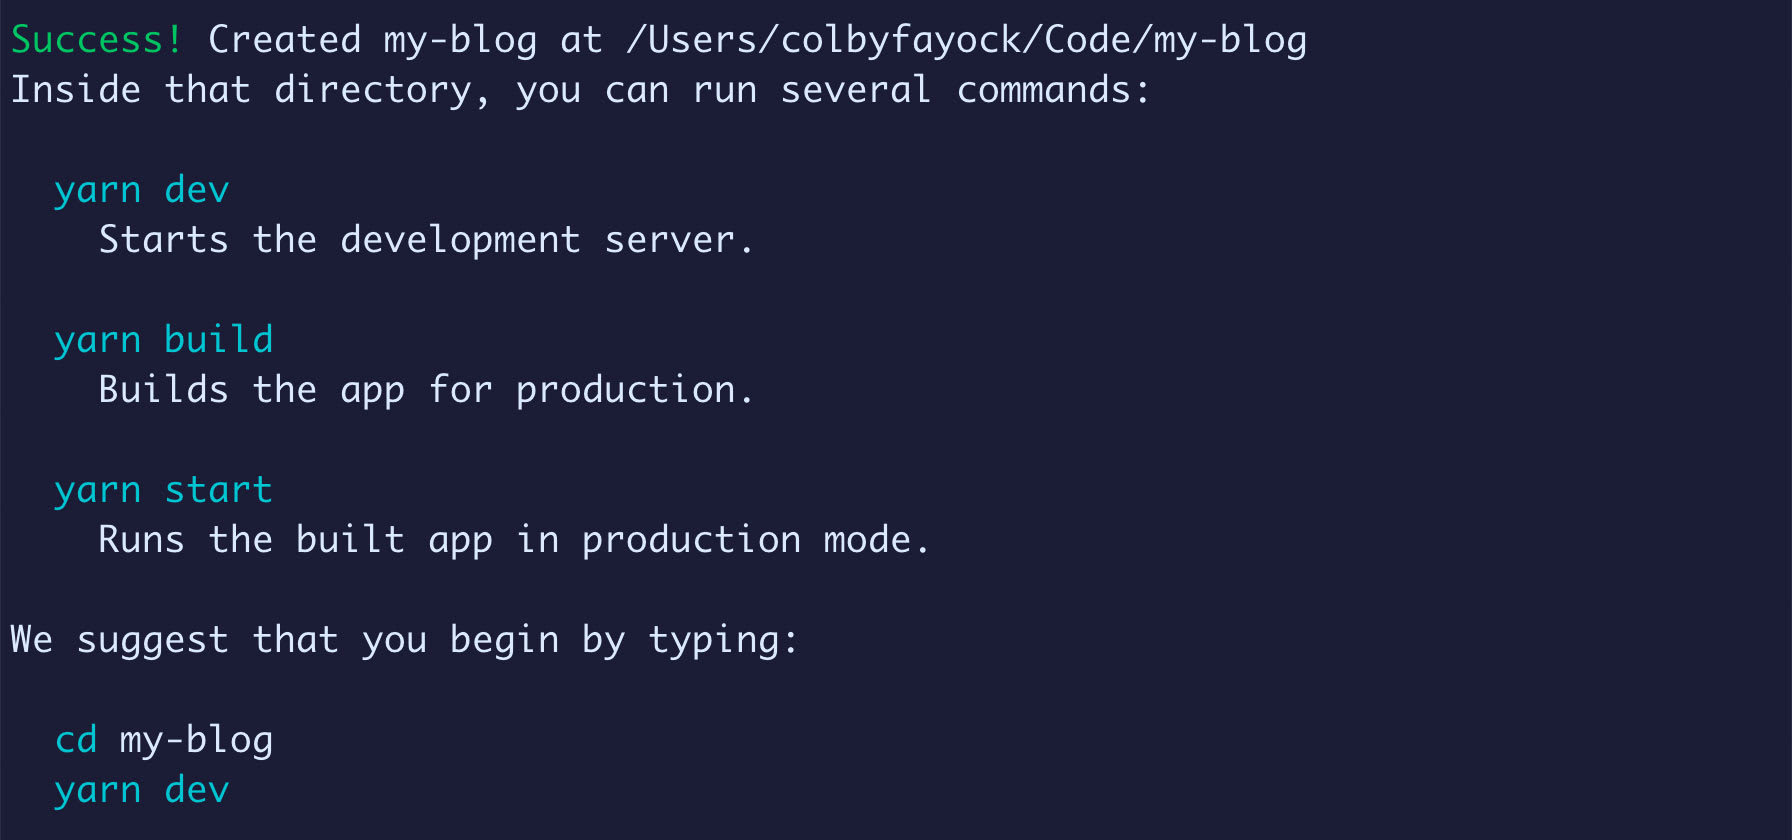
Back inside of our terminal, we can now start up our development server:
yarn dev
# or
npm run dev
Where once it’s running, your project will now be available at http://localhost:3000/ and when you open it up in your browser, you should now see your brand new Next.js WordPress blog!

The great thing about this, is the Next.js WordPress Starter is already set up to pull all of your basic WordPress content directly into Next.js.
If you navigate around by clicking the blog links and even searching the title of one of those blog posts, you can see you already have a full-featured blog.
Next, let’s learn how to build our project and deploy it!
Step 3: Building and deploying a static Next.js WordPress blog to Netlify
Part of my goal with Next.js WordPress Starter was to create a completely statically generated WordPress site that can be deployed anywhere.
That means, after building the site, the entire thing is just HTML, CSS, JavaScript, and any other static files, which we can deploy to our favorite static hosting provider whether that’s AWS S3 or Netlify, which is what we’ll use today.
To test this out, we can run the build command using the following:
yarn build
# or
npm run build
Inside of our project, the Next.js WordPress Starter already with the build script updated to additionally export the project to static files, so once that’s ran, you can see that Next.js will build the site, then export it, and we’re left with our static files in the out directory.

So now, all that’s left, is to deploy our site!
To deploy to Netlify, the easiest thing to do is to set up your new project on GitHub and connect that repository to Netlify. This will allow any future changes to redeploy upon push to GitHub.
Once you connect your repository to Netlify, it will ask you for a build configuration. Here, we’ll want to set up:
- Build command:
yarn build - Publish directory:
out
Note: Netlify can automatically detected a Next.js site and use it’s plugin. You could alternatively let them handle this for you and click Deploy after setting up your environment variable!
You’ll also want to click Show advanced where we need to set up our endpoint as an environment variable.
After clicking Show advanced, click New variable, and add the following:
- Key:
WORDPRESS_GRAPHQL_ENDPOINT - Value:
[Your WordPress Endpoint]/graphql
The value should be the same value you used inside of .env.local unless you’re intentionally changing it.

And finally, we can hit Deploy site!
Once clicked, Netlify will now spin up a new environment, where it will grab our new project, inject our environment variables, and build the project just like we did on our local environment.
After compiled, it will take those files, add them to storage, put a CDN in front of it, and make it available for the web.

And after it’s finished deploying, we can now open up our project, and see our new Next.js WordPress blog live on the web!

What can you do next?
Because our project is all managed between WordPress and Next.js, we have a lot of different possibilities as to where we go next whether it’s adding plugins that are supported by WPGraphQL or using the power of GraphQL to query data that already is there.
Add custom fields with Advanced Custom Fields
WordPress has a lot of power out of the box, but sometimes you need a custom set of fields to manage content how you’d like to. Advanced Custom Fields (ACF) is a popular solution that WPGraphQL can easily support with an additional plug-in.
https://www.wpgraphql.com/acf/
Manage SEO with Yoast
Another popular WordPress plug-in is Yoast, which allows content managers to easily set up metadata that can be used in the HTML of your site. To get support for Yoast, use the WPGraphQL Yoast SEO Addon, where you can then query those fields in GraphQL, and add them to your project.