How to Send Emails with SendGrid and Next.js Serverless Functions for a Contact Form
Being able to communicate with others is a critical component of what makes people and businesses collaborate on the web. That usually starts with having some kind of form or interaction that triggers a notification or email. How can we use SendGrid to make sure those emails get delivered?
What is SendGrid?
SendGrid is an email delivery service that specializes in it’s ability to programmatically send emails through its API.
It offers a range of features along with it including an SMTP service, templating, and email validation, but for our purposes, we just need the ability to send an email with it’s easy to use API!
What are Next.js API routes?
To send those emails, we’re going to take advantage of Next.js API routes and build an API endpoint to handle interacting with the SendGrid API.
Next.js API routes are a feature that comes build into the React framework Next.js that ultimately allows the ability to deploy serverless functions that can be accessed via a URL.
While we could use the SendGrid API directly inside of a clientside application, we’ll be working with an API key to interact with the SendGrid API, which we absolutely can’t expose to the public.
Using a serverless function allows us to use that API key securely as a serverside request while still being able to safely trigger it from our application.
What are we going to build?
We’re going to start with a basic Next.js application with a form. Contact forms are a pretty common way to communicate with others whether you’re an individual or business giving people a way to get in touch.
To send our emails, we’ll first learn how to configure a domain to send emails from SendGrid, then create a new Next.js API route, where we’ll install the SendGrid SDK allowing us to programmatically send emails.
Note: we’ll be configuring SendGrid with a custom domain. There may be options to not use a custom domain, but it’s definitely recommended to set up your own
You’ll need to have a SendGrid account to work through this tutorial. You can sign up free
Quick note about spam and security
Before we dive in, you should know that what we’re walking through today doesn’t have any measures in it to prevent spam.
It’s pretty common for an open web form on the internet to get robots trying to send mail through it. This can also include being able to programmatically send messages to the endpoint.
Be sure to set up some form of spam prevention and security mechanism if you intend on using this solution as any type of open form on the web.
Step 0: Setting up a new Next.js app with a basic form
We’re going to start off with a new Next.js app using Create Next App.
Inside of your terminal, run:
yarn create next-app my-email-app
# or
npx create-next-app my-email-app
Note: feel free to use a different value than
my-email-appas your project name!
Once installation has finished, you can navigate to that diretory and start up your development server:
cd my-email-app

yarn dev
# or
npm run dev
And once loaded, you should now be able to open up your new app at http://localhost:3000!
Now before we dive into setting up email, we’ll want a form in our app that will allow us to easily test sending emails.
To do this, inside of our homepage at pages/index.js, I’m going replace everything inside of the div with the classname of grid with:
<div className={styles.grid}>
  <style jsx>{`
    form {
      font-size: 1.2em;
    }

    label {
      display: block;
      margin-bottom: .2em;
    }

    input,
    textarea {
      width: 100%;
      padding: .8em;
    }

    button {
      color: white;
      font-size: 1em;
      background-color: blueviolet;
      padding: .8em 1em;
      border: none;
      border-radius: .2em;
    }
  `}</style>
  <form method="post">
    <p>
      <label htmlFor="name">Name</label>
      <input id="name" type="text" name="name" />
    </p>
    <p>
      <label htmlFor="email">Email</label>
      <input id="email" type="text" name="email" />
    </p>
    <p>
      <label htmlFor="message">Message</label>
      <textarea id="message" name="message" />
    </p>
    <p>
      <button>Submit</button>
    </p>
  </form>
</div>
What we’re doing here is:
- Setting up a basic HTML form with a few standard inputs you might find inside of a contact form
- Adding a very basic set of styles that make the form a little bit easier to read and use
While I’m in here, I’m going to update the title and the description at the top of the page. Feel free to customize the page as you’d like before heading to the first step.

And with that we’re ready to get started!
Step 1: Adding a new Next.js API route to send form submissions to
For our contact form, we’ll be using a Next.js API route to securely send emails with the SendGrid API.
Next.js by default comes with an example API route that we can take advantage of to get started.
You can test this out by navigating to http://localhost:3000/api/hello inside of your browser, where you should see a response with a simple example object.

If we look inside of the code under pages/api/hello.js , we can see exactly how this is working, where we’re exporting a default function, which will serve as our “handler” for our serverless function, where we use the res or response object to set a status of 200 (or a successful “Ok”) and return a static JSON object.
We’re going to transform this default function into our own, so the first thing we can do is rename this file to something that makes sense, so let’s rename:
pages/api/hello.js
To:
pages/api/mail.js
If we now visit http://localhost:3000/api/mail in our browser, we should see the exact same “John Doe” object as we did before.
Note: we could also create a new file in addition to
hello.js, but because we’re not actually doing anything with the original, we can just start from there.
Before we move on, we can also update the response to something that makes a little more sense instead of “John Doe”.
Let’s update the response JSON to:
res.status(200).json({ status: 'Ok' })While this is a small change, we’l be able to see that we’re getting a successful request, which is a pretty common pattern for APIs.
Now to test this out, we can set up our form that we created in the last step to automatically send a request whenever something is sent.
Inside pages/index.js, let’s first add an onSubmit handler to our form:
<form method="post" onSubmit={handleOnSubmit}>Then, let’s define that handler above the return statement for our Home component:
async function handleOnSubmit(e) {
  e.preventDefault();

  const formData = {};

  Array.from(e.currentTarget.elements).forEach(field => {
    if ( !field.name ) return;
    formData[field.name] = field.value;
  });

  await fetch('/api/mail', {
    method: 'POST',
    body: JSON.stringify(formData)
  });
}
Breaking this down:
- We’re creating a new function called
handleOnSubmit - Inside of that function, we’re first preventing the default events from occurring, which in this case, is preventing the form from submitting to the browser
- We create a new object called
formDatawhere we’ll store the information from the form - We create an array from our
currentTarget‘selements, which in this case is our form and the inputs of our form, and store the name and value of each of those inputs in ourformDataobject - Finally, we take that data, and we POST it as a string to our API endpoint at
/api/mail
To explain the above simply, we’re taking our form data and we’re sending it to our API endpoint.
We can test this in our browser filling out and submitting our form, where we can see that request being made to our endpoint.

If we click on the Response tab, we can also see our JSON object where we returned a status of “Ok”.

So at this point, we have a form inside of our application that’s successfully sending data to our new Next.js API endpoint.
From here we’ll be able to start working with SendGrid, where we can configure and use it to send emails with that information!
Step 2: Configuring a domain to send emails from with SendGrid
To send our emails, we’re going to use SendGrid as our provider. We’ll connect a custom domain to SendGrid by setting up DNS records and generate an API key to use later with the SendGrid API.
Note: you might be able to send emails using the SendGrid domain, making this step optional, but you’ll be creating a better experience for your visitors by sending the emails from the same domain they’re interacting with!
Once you’re logged into SendGrid, we want to authenticate a domain. If you’re account is new, you may be able to find some links on the dashboard’s homepage, but we can find the page by navigating to the Settings, then Sender Authentication, where you can click Get Started.

Once there, SendGrid will first ask you to select your DNS host. If you know it and it’s listed, feel free to select it, otherwise select Other.
It will also ask if you’d like to rebrand all tracking links. You can leave this as No if you’re not sure what it does and change it later if you’d like.
SendGrid will then ask you for the domain you’d like to send from.
I’m going to be setting up colbyashi.com for my example, so I’ll ender colbyashi.com in the provided field, then click Next.

Finally, SendGrid asks you to add DNS entries for your domain.
I’m going to walk through how we can do this with Google Domains which is my provider. This should look very similar with other providers, but if you’re unsure of how to add these entries, try to search in your provider’s documentation how to add a “CNAME”.
For each record we have 2 values: the DNS Name and the Canonical Name.

If we look at our available options inside of Google Domains, which again should look similar to others, we have a field marked by “@“ which will represent our SendGrid DNS Name and the Domain Name which will represent our SendGrid Canonical Name.

We can copy and paste each of these values and create new CNAME records for each.
Note: For each of the custom record “names”, you want to make sure you only include the beginning of each subdomain entry. For instance, for em5080.colbyashi.com, you only want to enter em5080 in Google Domains. This may different depending on your DNS provider.
The 1h value, or TTL, indicates the amount of time that value should “live” before it’s discarded by servers. If you’re not sure what you’re doing, you can just leave that as the default setting.

But once all of your records are added, you can head back to SendGrid, where you can select the checkbox that you added the entries, and hit Verify.

Note: depending on the provider, these changes may take time to propagate and may not work immediately. Refer to your DNS provider to see how long it may take.
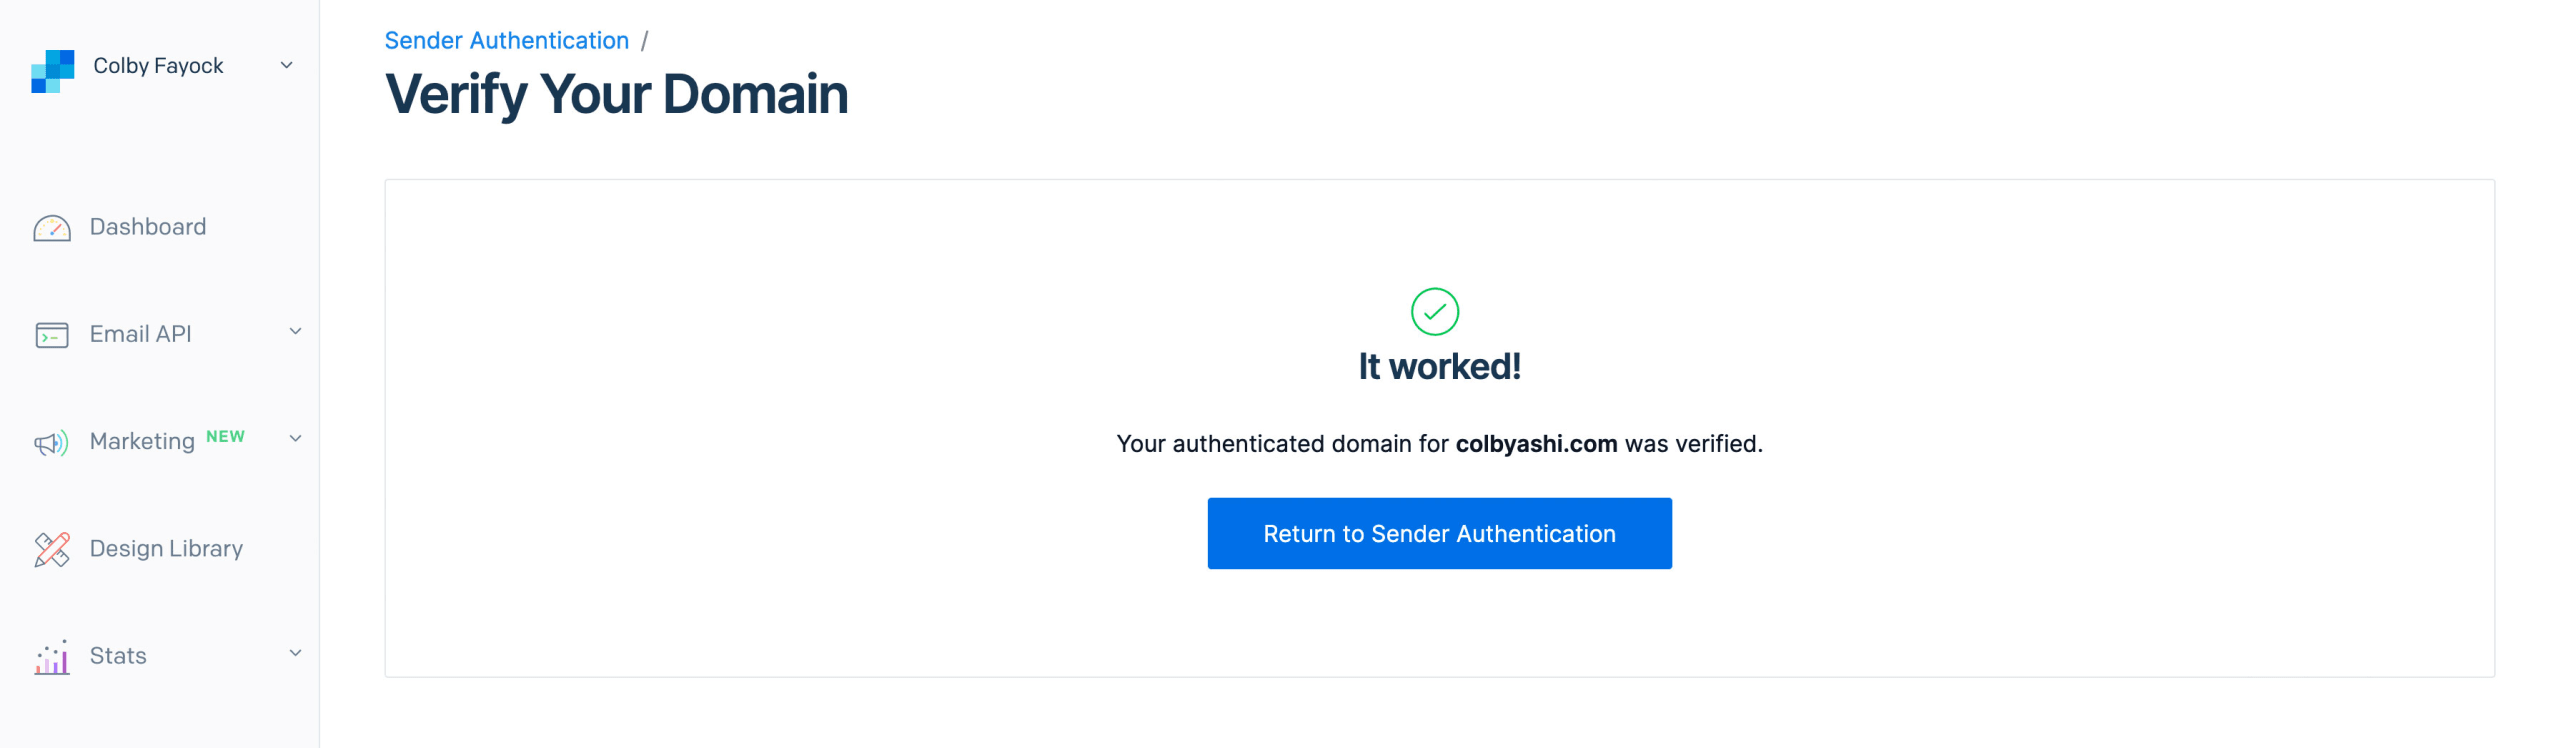
And if you’ve successfully verified, you’ll be taken to a success page and you’re now ready to go!
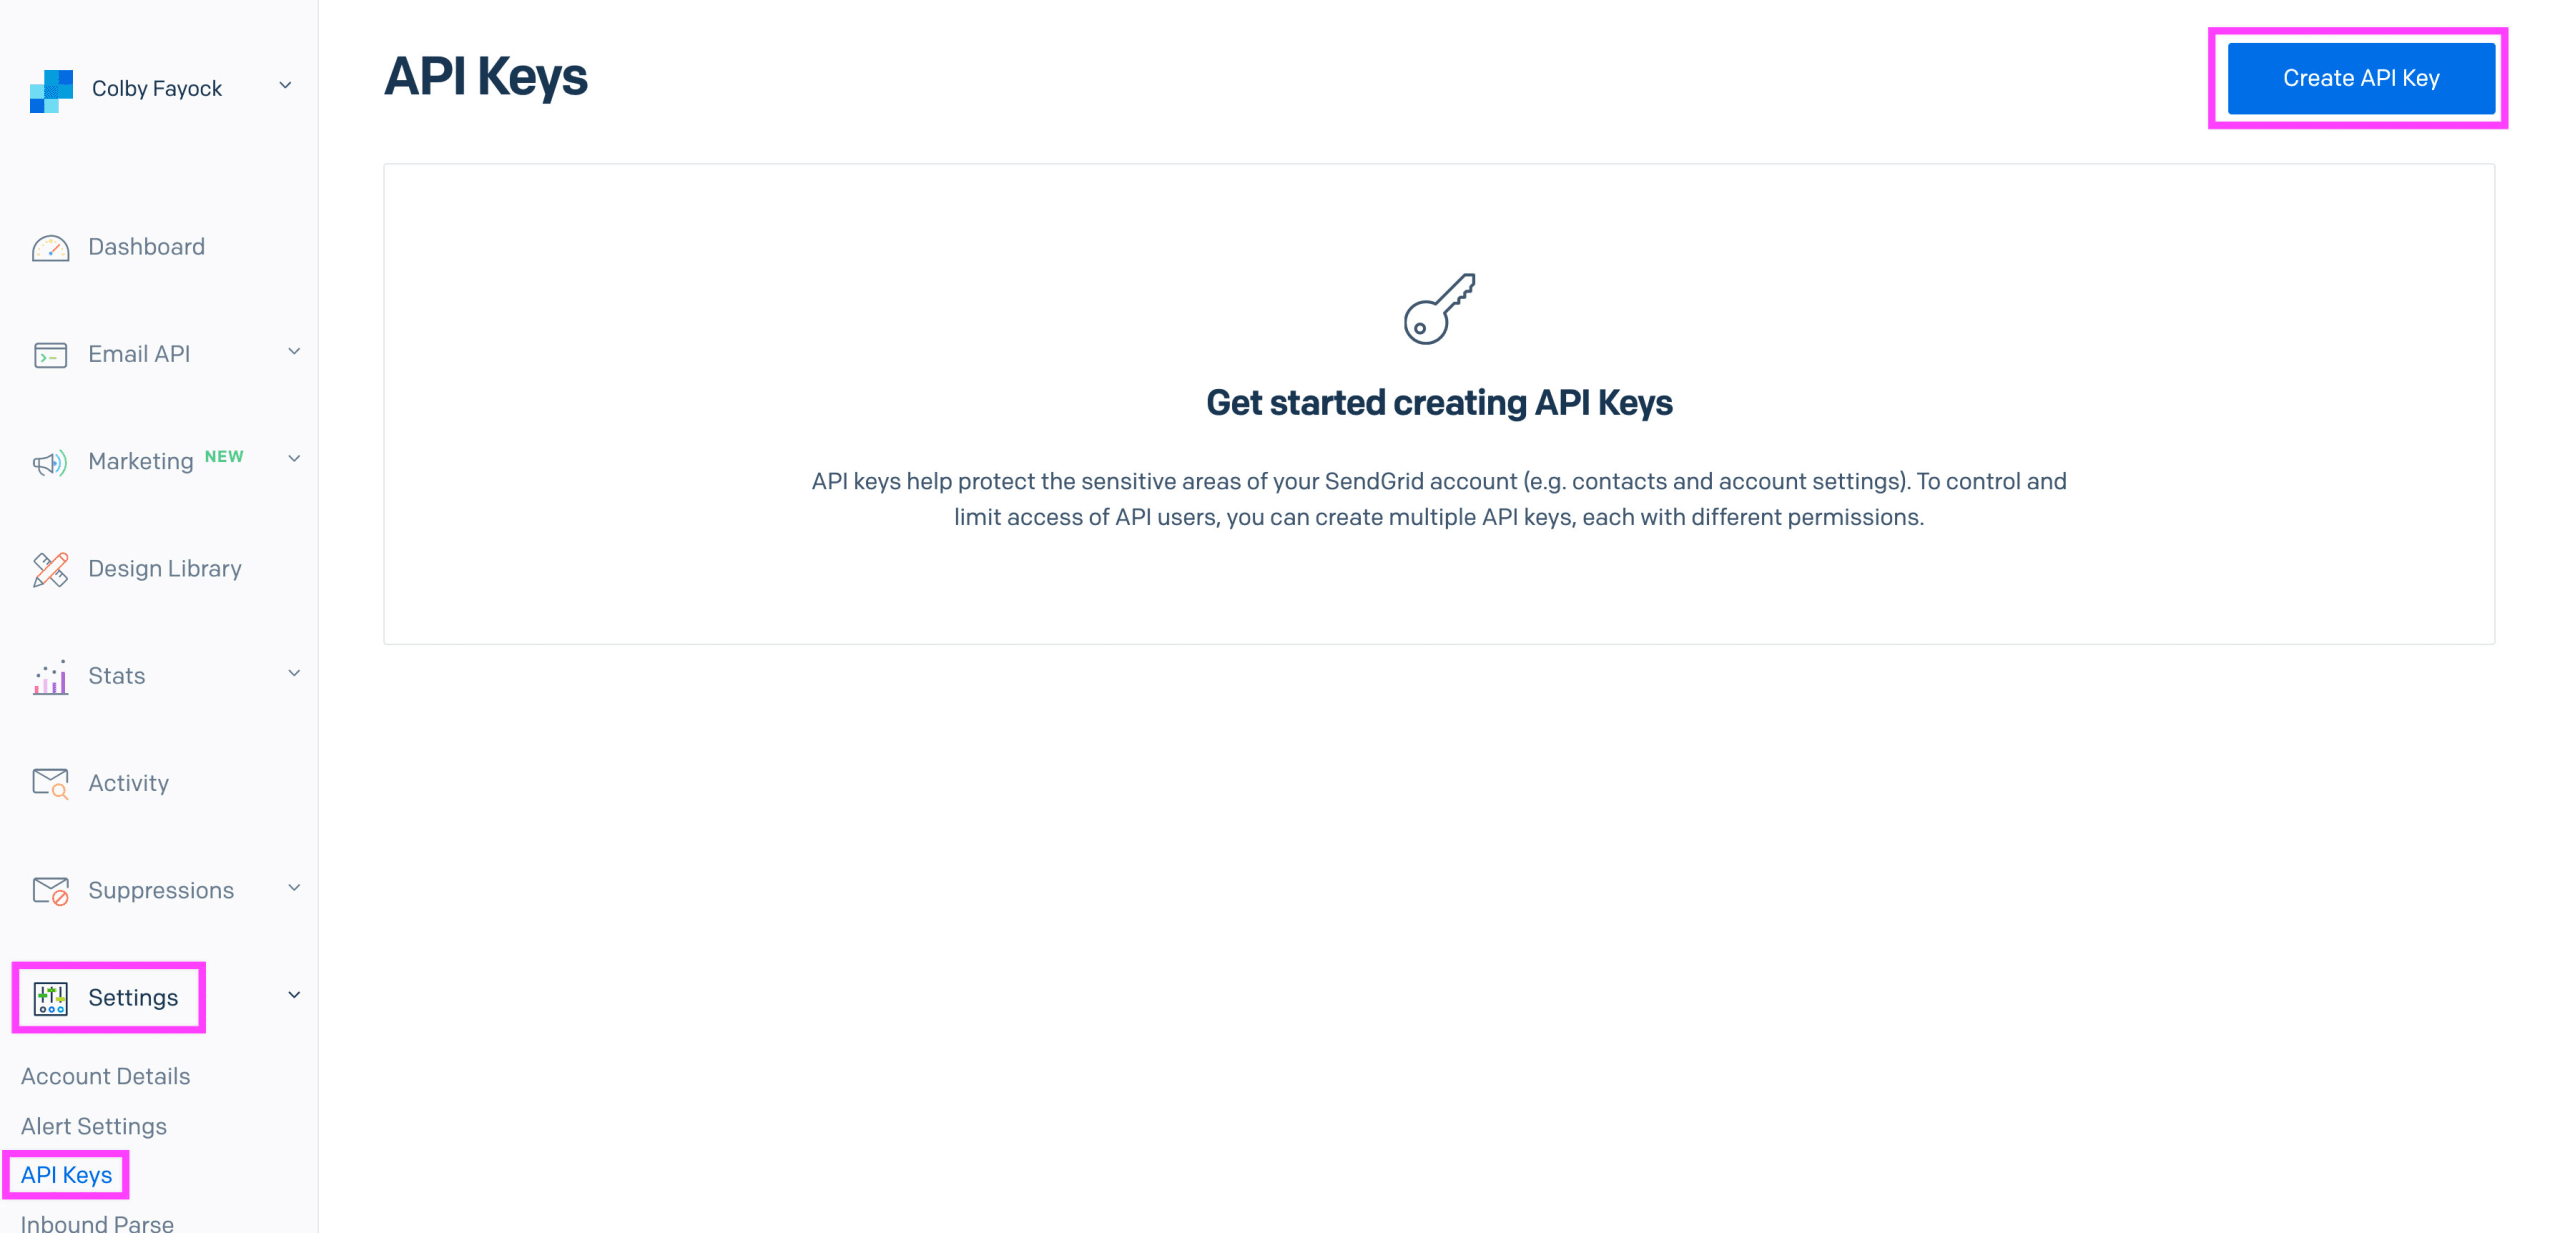
Now that our domain is verified, our final step will be to generate an API key which we’ll use in the next steps to send emails.
Navigate to Settings, API Key, then click Create API Key.
Here, you’ll be asked to give your API key a Name, I’m going to use “Contact Form”, and select what permissions you’d like to give to the key.
For our purposes, I’m going to create my key with full access, but if you’d like to secure your key, you can use Restricted Access to only give permissions to the functionality you’d like.
Once you click Create & View, SendGrid will show you your new API key.

As they note, this will be the only time you can view this key, so make sure to copy it to a secure location to use later.
If you misplace it, you’ll need to delete this key and regenerate a new one.
But now that we have both our domain verified and our API key generated, we can now get back to the application where we can use SendGrid in our app!
Step 3: Installing and configuring SendGrid in a Next.js app
In order to send emails programmatically, we’re going to take advantage of the SendGrid SDK that’s available to install as a node package.
Back inside of our terminal, let’s first install SendGrid with:
yarn add @sendgrid/mail
# or
npm install @sendgrid/mail --save
Once that’s finished installing, we’ll want to import the package into our mail API route.
Inside pages/api/mail.js, at the top add:
const mail = require('@sendgrid/mail');With our mail package imported, the first thing we’ll need to do is configure SendGrid with our API key.
Right after our require statement, above our function handler, add:
mail.setApiKey(process.env.SENDGRID_API_KEY);You might be tempted to paste in the API key right into the function as plain text, but instead, we’re using an environment variable.
Saving an API key as plain text is a security risk. If you check this into source control like git, you risk that key being exposed to others.
With environment variables, you also gain the ability to switch API keys in different environments. Maybe you want to track development usage differently than production usage or have different permissions. Using environment variables allows you to easily do that!
So now that we’re setting our key with an environment variable, we need to create that variable.
In the root of our project, create a new file called .env.local and inside add:
SENDGRID_API_KEY="[YOUR API KEY]"Set the value to your API key that we generated earlier inside of SendGrid.
Note: typically you would want to make sure you add environment variable files to your
.gitignore, but because.env.localis a Next.js convention, they already have it in that file. That way you’re preventing it from accidentally getting added to git!
And now, we should be ready to start sending our emails!
Step 4: Programmatically sending emails from an API route with SendGrid
Finally we can start sending emails!
To get started, the first thing we want to to is parse the data we’re sending from our application.
Inside of pages/api/mail.js at the top of the function, add:
const body = JSON.parse(req.body);This will turn the string of data into a JSON object that we’ll be able to use to find our form data. If you’re following along with me, this will include a name, email, and message property.
We can even test this out by logging the body object right after:
console.log('body', body);And if we try to submit the form, we should now be able to see those values in our terminal logs:

Now, we can use that data, and send an email with it, so we can notify someone of of the new contact.
Back inside of our API function, we can first create a string-based message with:
const message = `
  Name: ${body.name}rn
  Email: ${body.email}rn
  Message: ${body.message}
`;
We’re using our body data to add our fields and using rn to add returns so that the email sends formatted nicely.
And finally, we can send that message, by setting who we want to send it to, where we want to send it from (some email address from our verified domain), along with a subject explaining what the message is, and passing that all to the mail.send function.
mail.send({
  to: 'to.name@email.com',
  from: 'from.name@email.com',
  subject: 'New Message!',
  text: message,
  html: message.replace(/rn/g, '<br>'),
});
You’ll notice in the above that I’m also including an HTML property where I’m replacing the return characters with a <br> in the even that the person viewing the email is using HTML.
Note: because we authenticated our domain with SendGrid, you should be able to use whatever you want for the first part of the email address. (Ex: [name]@colbyashi.com)
Before we try to send the message though, we want to make sure that before we finish the request, that we have successfully sent our email.
On our mail.send invocation, we can chain a then on the end, and wrap our res.status inside:
mail.send({
  to: 'to.name@email.com',
  from: 'from.name@email.com',
  subject: 'New Message!',
  text: message,
  html: message.replace(/rn/g, '<br>'),
}).then(() => {
  res.status(200).json({ status: 'Ok' });
});
Note: alternatively you can make the API function async and use
await.
But now, if we try filling out our form and hitting send again, we should be able to keep an eye on our email inbox, and see our new message!

What are the next steps?
Deploying the application
You have a few options. The obvious choice might be Vercel, as they support Next.js API routes out of the box, but Netlify does as well. The only caveat is you’ll need to make sure that you’re configuring the application to POST the API requests to the right address, which may include configuring an environment variable to set up your hostname.
Setting up spam protection
As mentioned earlier, if you leave a form open on the web, it’s likely you’re going to get spam.
Make sure that if you’re using this form open on the web that you’re setting up appropriate protection such as a simple honeypot, one of the various CAPTCHA solutions available, or a premium service that will manage that with filters.