How to Use Cloudflare Pages to Host & Deploy a Next.js App
Building dynamic web apps that can be statically hosted, commonly known as the Jamstack, is a powerful way to help provide a fast and reliable experience to your website visitors. There are a lot of options for how you can do this, such as AWS S3, Azure Static Web Apps, Netlify, and Vercel, but there’s a new kid on the block, coming from a dominant force on the web: Cloudflare Pages.
What is Cloudflare?
Cloudflare pens itself as a web performance and security company, but its offerings and capabilities span a wide range including their CDN, DNS, DDoS Protection, Workers, a VPN, and quite a lot more…

But recently they’ve introduced Pages, which will give developers another tool in their vast ecosystem to help build performant web apps.
What is Cloudflare Pages?
Pages is Cloudflare’s solution for hosting static web apps. If that word “static” scares you a bit, it shouldn’t, as it’s not truly static in nature.
Static web apps have spawned a new developer community around the term Jamstack, which at its core, is a statically hosted application, but made dynamic through pulling in data at build time and further layering a dynamic experience in the browser.
By making requests to APIs, whether self-hosted or through the growing number of services from content management to authorization, we can give just as dynamic of an experience as one would expect from a server rendered approach.
Note: Cloudflare Pages is in Open Beta at the time of writing this. So that means things might shift around a little bit, but overall the same workflow should remain the same.
How does Cloudflare Pages work?
The two big pieces for making Cloudflare Pages work is a Git integration and a build command that ultimately yields a static site.
As we’ll see later when we walk through setting up an app in Pages, we’ll start off by connecting our Pages account to GitHub, where we’ll then specify our build command.
Cloudflare will clone our repository, run that build command, and use the output directory we specify to statically host our project, put a CDN in front of it, and make it available to the web!
What are we going to build?
We’re going to start off by creating a new Next.js project from scratch using Create Next App. While this starting point isn’t necessarily anything “special”, it’s a great easy way to get an app up and running.
If you’d like to follow along with your own app, the only thing you’ll need to consider is that the application needs to be static, so it won’t be able to support any serverside methods or API routes, where we’ll use the next export command to build our project.
With our static Next.js app, we’ll then add it as a new project to GitHub.
Finally, we’ll connect our GitHub repository to Cloudflare Pages, where they’ll do the rest of the hard work and deploy our site!
Step 1: Creating a new Next.js app
To get started, we’ll create a new Next.js app with Create Next App.
First, navigate to the directory you want to create the project in, then run the following:
yarn create next-app my-cloudflare-page
# or
npx create-next-app my-cloudflare-page
Note: feel free to replace my-cloudflare-page with the project name of your choice. It will be used to create the project folder and we can optionally use the same name for our new GitHub repo.
Next.js will now create a new project and install all of the dependencies needed, including Next.js itself.

Once it’s finished, navigate to your new directory, and start your development server:
yarn dev
# or
npm run dev
Next.js will start the project and inside of your terminal, it should now let you know your projecti s available at http://localhost:3000, which if you open it up in your browser, you can now see your new Next.js app!

Step 2: Configuring Next.js to export a static website
By default, Next.js will take advantage of serverside processing to load the site. This happens locally automatically inside of node with the local server we spun up with Next.js.
If we were deploying this application to Vercel, that would be okay, because they handle that processing by default, but we’ll be deploying to Cloudflare Pages, which will host the site statically.
To configure our new application, we can head over to our package.json file, and instead of the build script, update it to the following:
"build": "next build && next export",This will tell our application that whenever we want to build it, it will first build the application into a Next.js-specific configuration, but then we’ll also export it, which will compile that application into static files that by default will be placed in the out directory.
We can try this out ourselves in our terminal by running the build command:

Note: to learn more about how this works, check out my YouTube video* that talks about what static generation means.*
But once that’s complete, we’ll also see that inside of our project, we now have a folder called out, which inside, contains a bunch of HTML, CSS, and JS files.

This is what Cloudflare Pages will see and ultimately deploy to the web!
Step 3: Adding a Next.js project to a new GitHub repository
With our Next.js app ready to go, we now want to set it up inside of GitHub as a new repository.
Note: for this step, you’ll need to have a GitHub account, which is free to create.

GitHub will ask us for some information, but really the important part is that you add a new Repository name. I’m going to use my-cloudflare-page like we mentioned earlier
Then, click Create repository, and GitHub will do all of the hard work, and send us over to a new page with some more instructions.
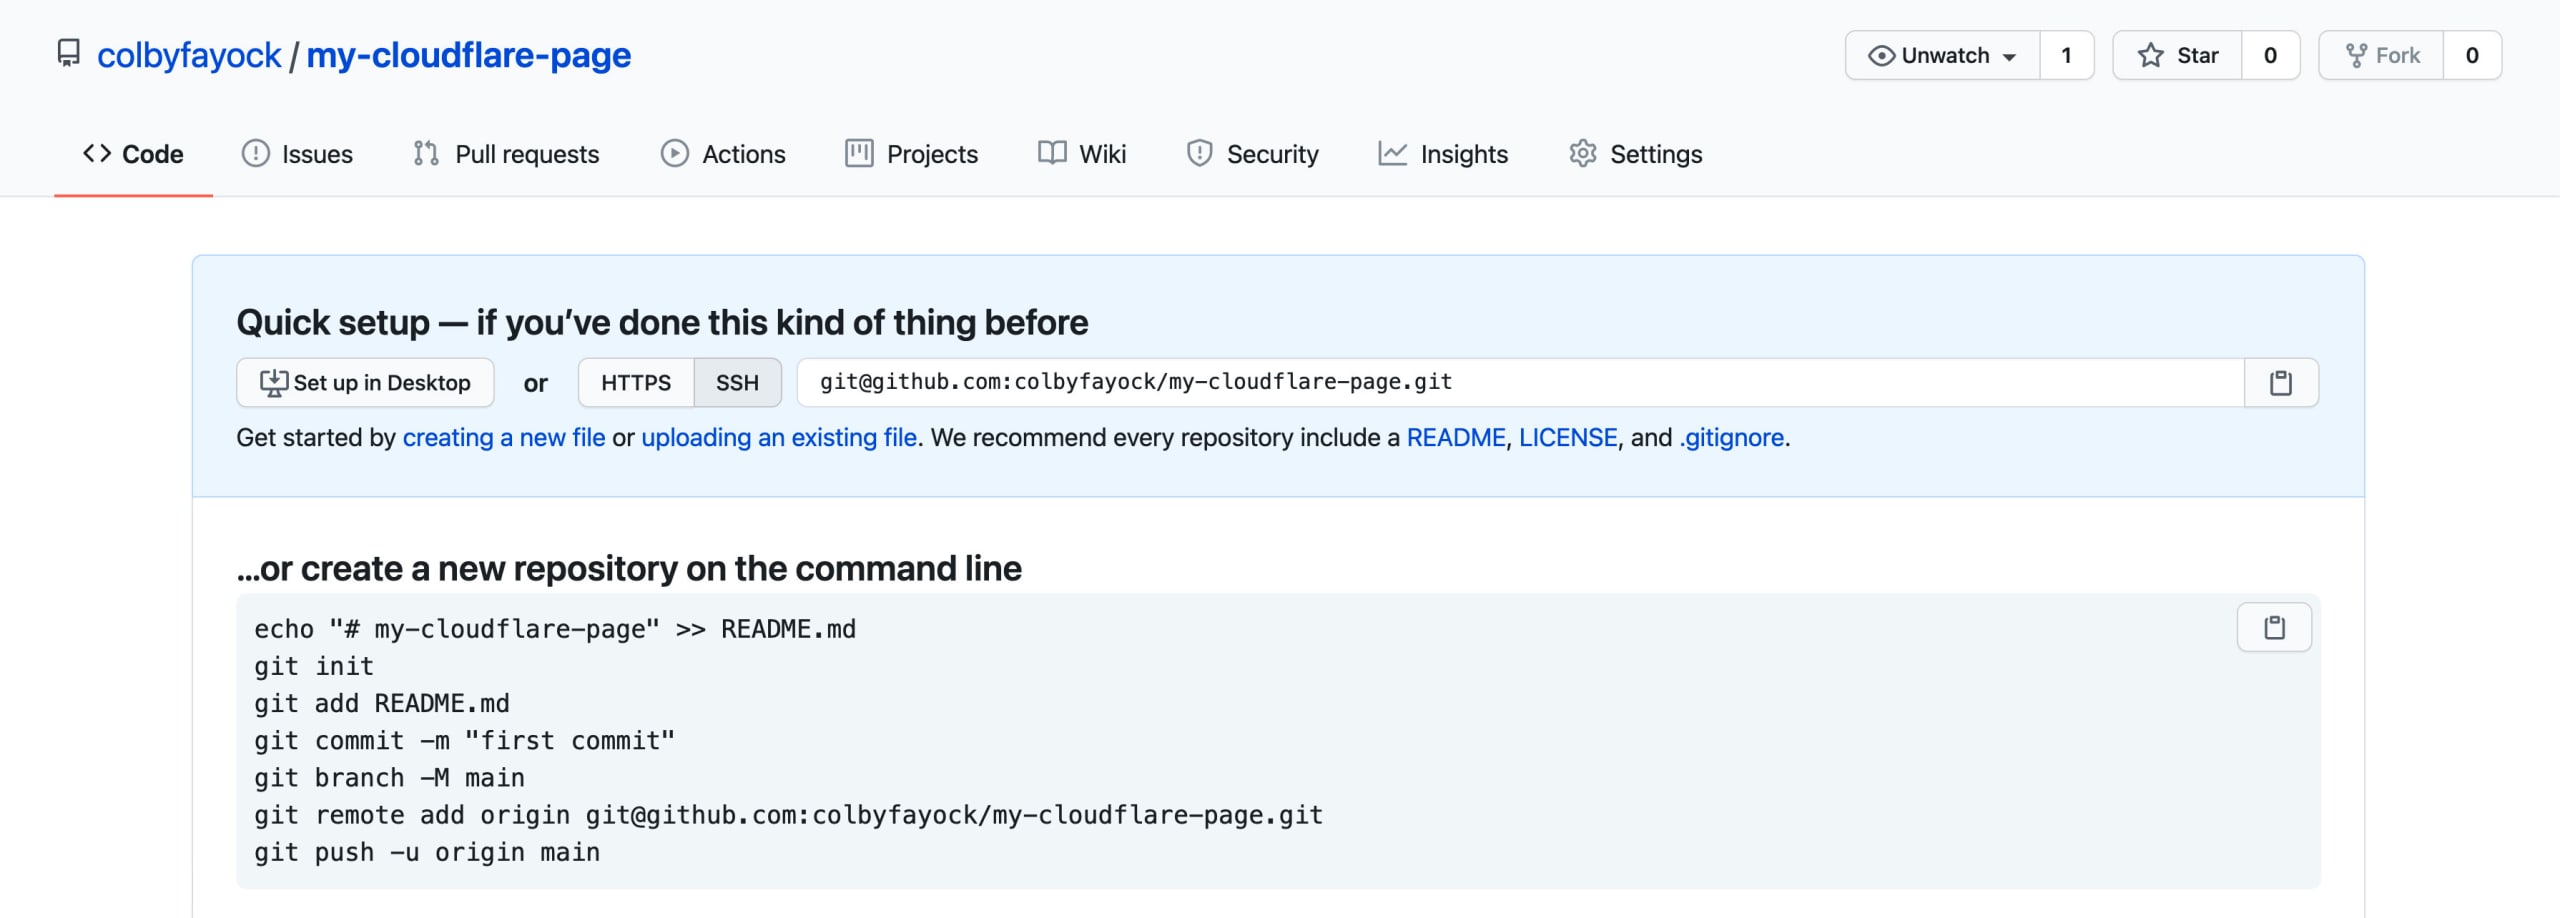
At this point, GitHub fortunately makes it easy for us, giving us all of the commands we need to get our project to our new repository.
So following along with their instructions:
- You can skip creating a new file and initializing the repository, as that’s already been done
- Add all of your files, you can use
git add -A .to add them all at once - Commit the files
- You can also skip changing the branch name, as Next.js starts off with
mainas the branch name - Add the remote origin (so GitHub knows where to push files)
- And finally push the files to Git
Once you’re done, all of your files should now be available inside of the GitHub repository, and we should be ready to go!

Check out my repository on Github!
Step 4: Setting up and configuring Cloudflare Pages
Now that we have our Next.js project in a GitHub repository, we can connect it to Pages to host and deploy our application.
Once we’re logged into the Cloudflare dashboard, we can navigate to the Pages section.

Next, click Create a project.

If this is your first time using Pages, you’ll need to now connect your GitHub account using oAuth. This will let Pages have access to your repositories (whether you select all or individual projects) so that it can set up the hosting and deployment for your project.

Now that it’s connected, we can find our repository to install Pages.

Next, Cloudflare is going to ask for a few details related to the project.
- Project name: this will be whatever you want to name this project, which you can just leave “as is” which is prefilled with your repository name
- Production Branch: the branch where Cloudflare deploys the main project from, only change this if you want to deploy from a different branch
- Framework preset: the framework which was used to build the project in the repository, select Next.js or whatever project framework you’re using, Cloudflare will automatically fill in the rest of the fields
- Build command: the command(s) used to build your project, you can either leave this field “as is” or if you’d like to maintain the build command from your
package.jsonlike we set up before, you can change this toyarn build - Build output directory: where the static files from the build command are output to, similar to the others, you can leave this as
out, unless you changed the output directory - You can ignore Root directory and Environment variables unless you’re working with an advanced configuration

Finally, hit Save and Deploy!
Cloudflare will now start up a new environment, clone the Git repository, build the application, and deploy it! You can follow along right on the Deployment Details page, it should only take a few minutes.
But once it’s finished, you’ll now see a URL at the top of the Deployment details section.

And if you open it up, we can see our Next.js app!

See my site live on Cloudflare Pages!
Bonus: Creating a deploy preview with a new GitHub Pull Request
Our project is set up and is deploying in our project, but what if we want to make a change? What if someone submits a pull request, how can we easily see that change deployed?
Luckily, Cloudflare makes this super easy, where they’ll create a deployment preview for any pull request that’s created.
To check this out, we can stage a quick change to our project.
Either inside of the GitHub UI or inside of your code editor, navigate to pages/index.js which is the homepage of our project.
You can make any change you’d like, but I’m going to change the title of my page (h1) to My Cloudflare Page:

Next, instead of committing this change right to our main branch, we want to create a new branch, and ultimately a pull request.
In your terminal, you can use:
git checkout -b my-new-branchIf you’re using the GitHub UI, you can tell GitHub that you want to add it to a new branch instead of committing it directly to main.
Once that branch is up on GitHub, we now have the option of creating a new Pull Request.

After creating that Pull Request, we’ll now see a new Deployment check right on our Pull Request page, that shows Cloudflare Pages is building our site.

And once it’s finished, we can now see that it was successfully deployed, and Pages even commented on the Pull Request with a link to the deploy preview.

If we click and open it up, we can see our change live on the web as a preview!

Check out my Pull Request and preview!
What else can we do?
Given we now have the power of Cloudflare, the doors are really open to take advantage of the many services they offer.
Custom Domain name
Chances are, if you’re building your project, you want to also add a custom domain name. Luckily Pages makes this pretty simple!
Adding a custom domain on Cloudflare Pages
Adding dynamic functionality on the edge
One of the many cool services Cloudflare provides is Workers, where you can set up serverless functions that can work as an API for your site.
More Cloudflare
Check out Cloudflare for a full list of their product offerings!